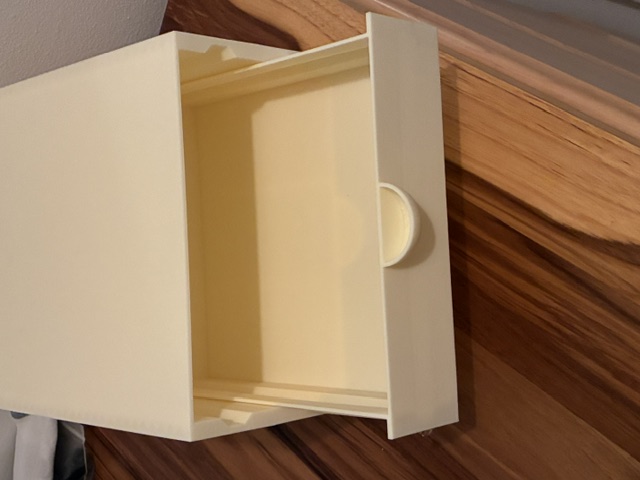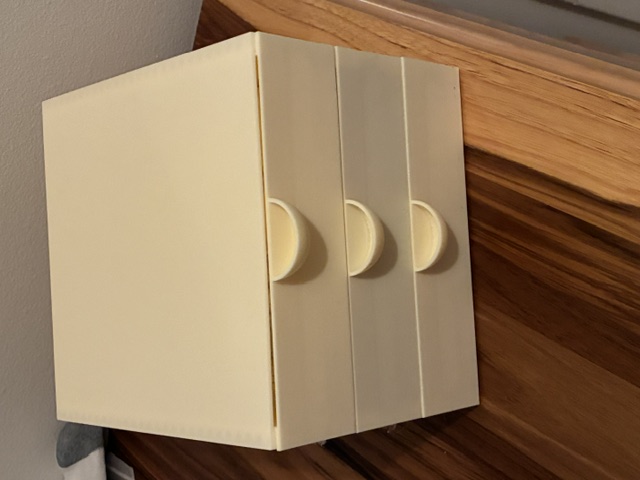
Stackable Drawers 200mm
A fully 3D-printed modular drawer cabinet — three stacking housings, matching drawers with finger pulls, and a removable divided tray. Print as many tiers as you need.
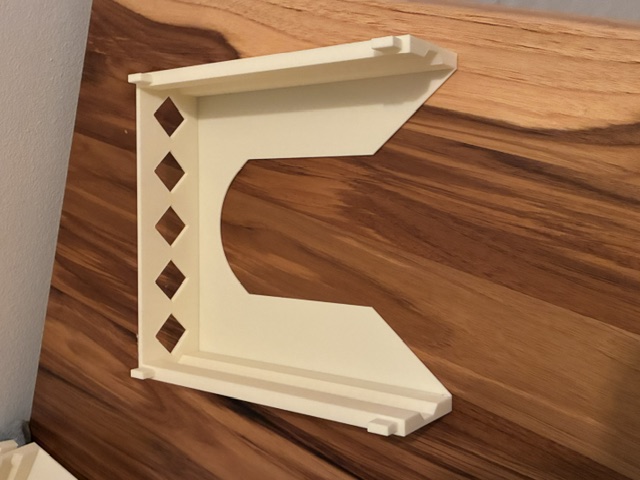
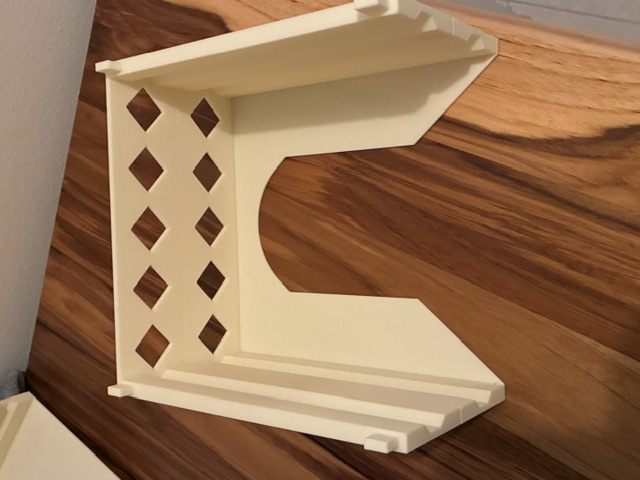
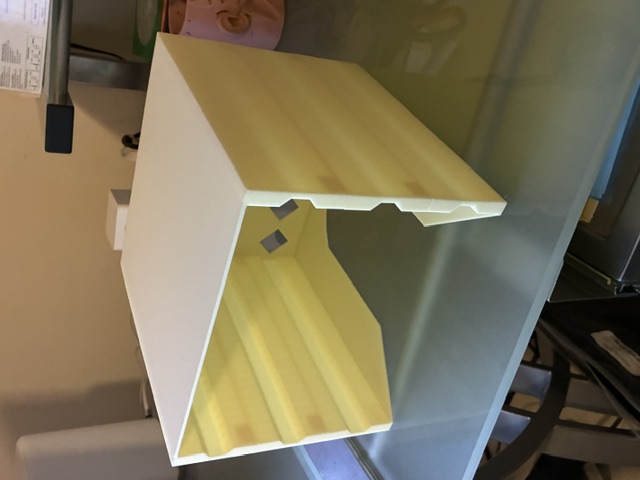
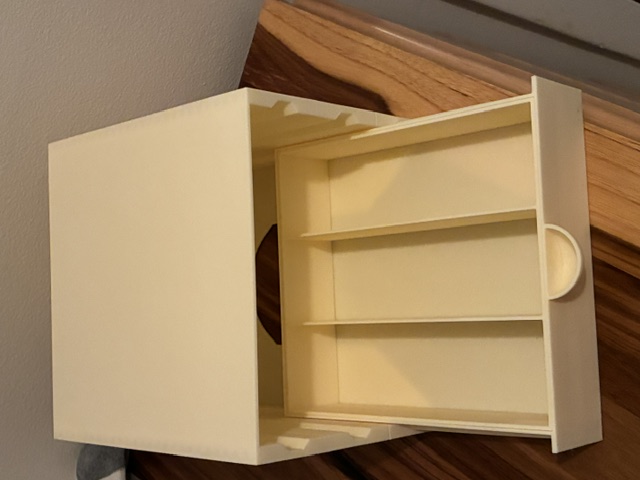
I wanted desk storage that matched, stacked, and could grow a tier at a time instead of buying a fixed unit. This is a modular cabinet: each housing is identical and stacks on the one below, each drawer slides on the housing's rails, and one drawer gets a 3-compartment insert for small parts. The diamond cutouts on the back are decorative and keep the print from looking like a plain box. Everything is friction-fit — no fasteners.
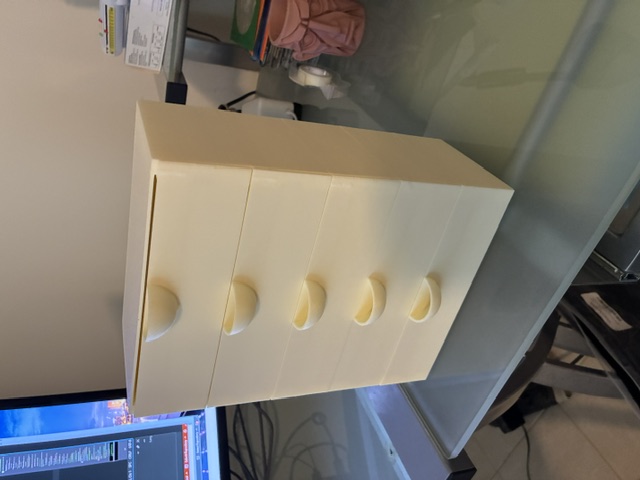
How It's Made
Model and Print the three parts. Design a housing shell, a drawer that fits its internal rails with clearance, and a drop-in divider insert.
Keep the housing footprint identical so tiers stack. Attached are the 3MF files, set for P1P
Standard sttings for Bamabu Studio, approx 3.5 hours per piece
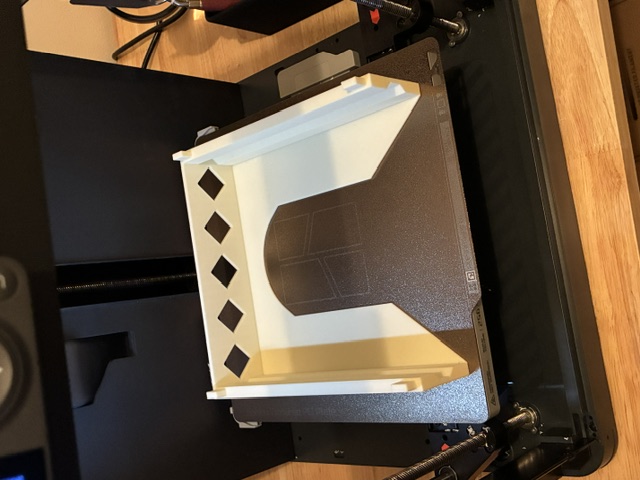
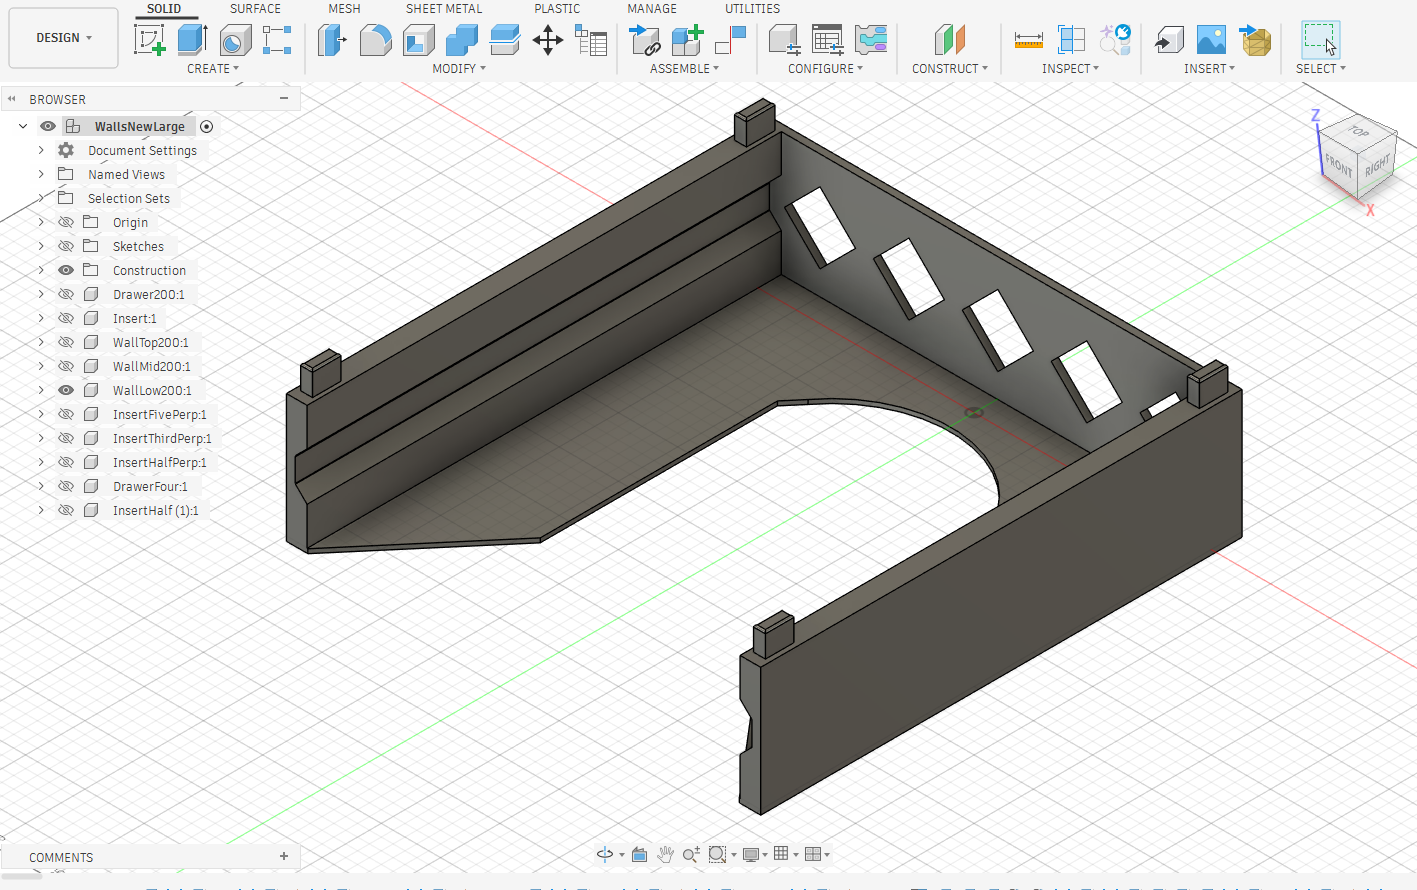
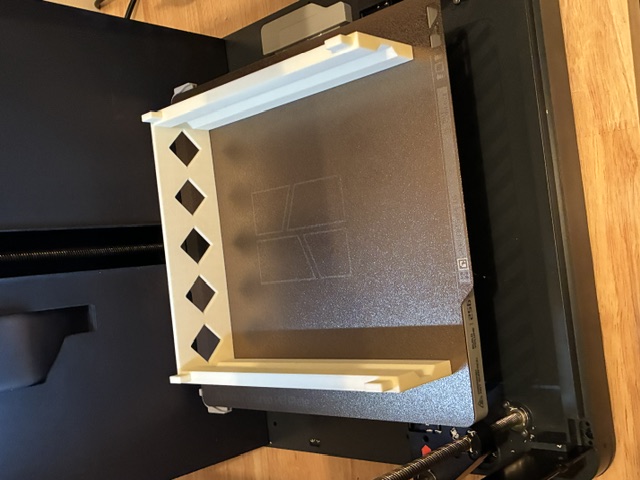
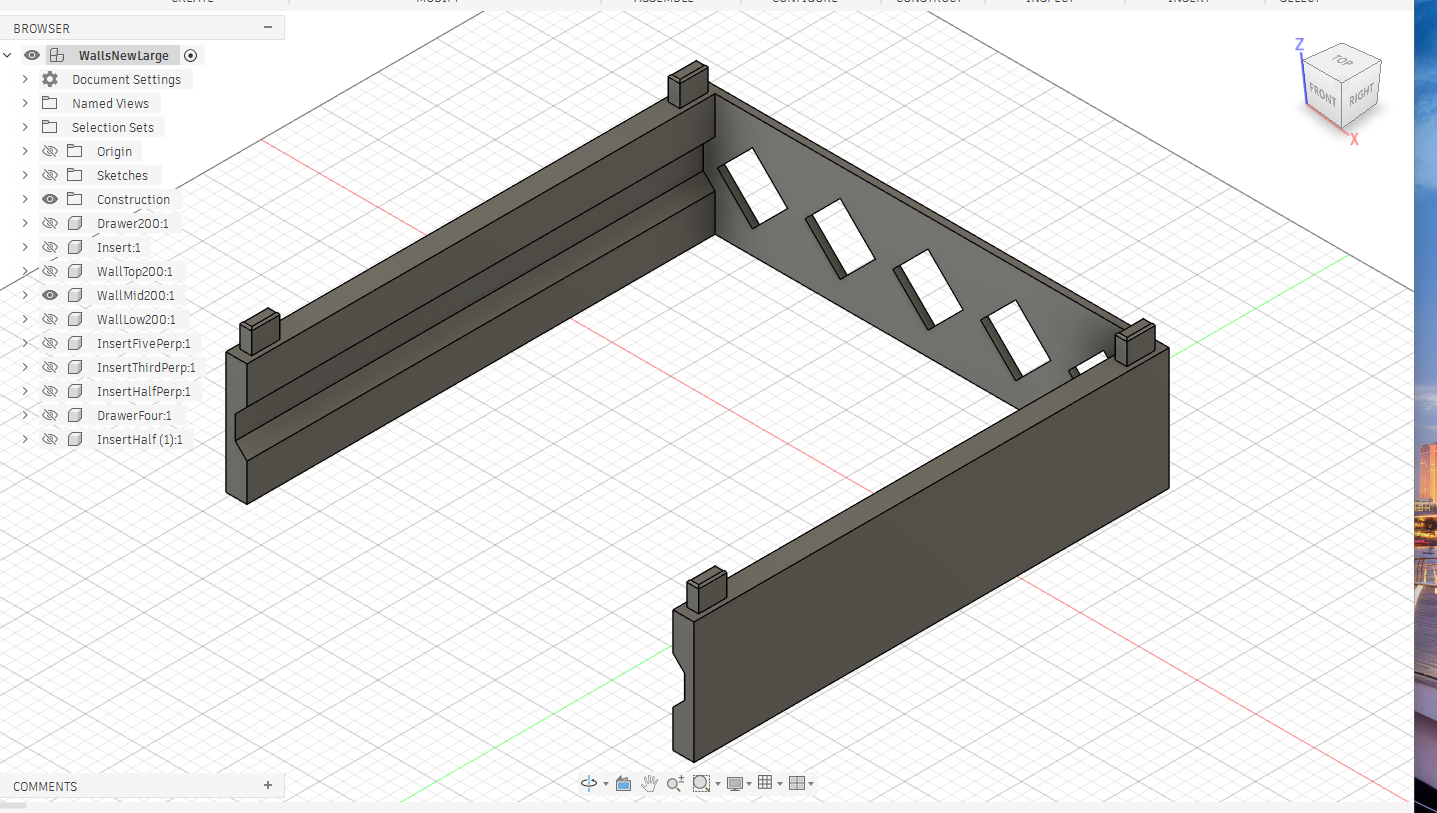
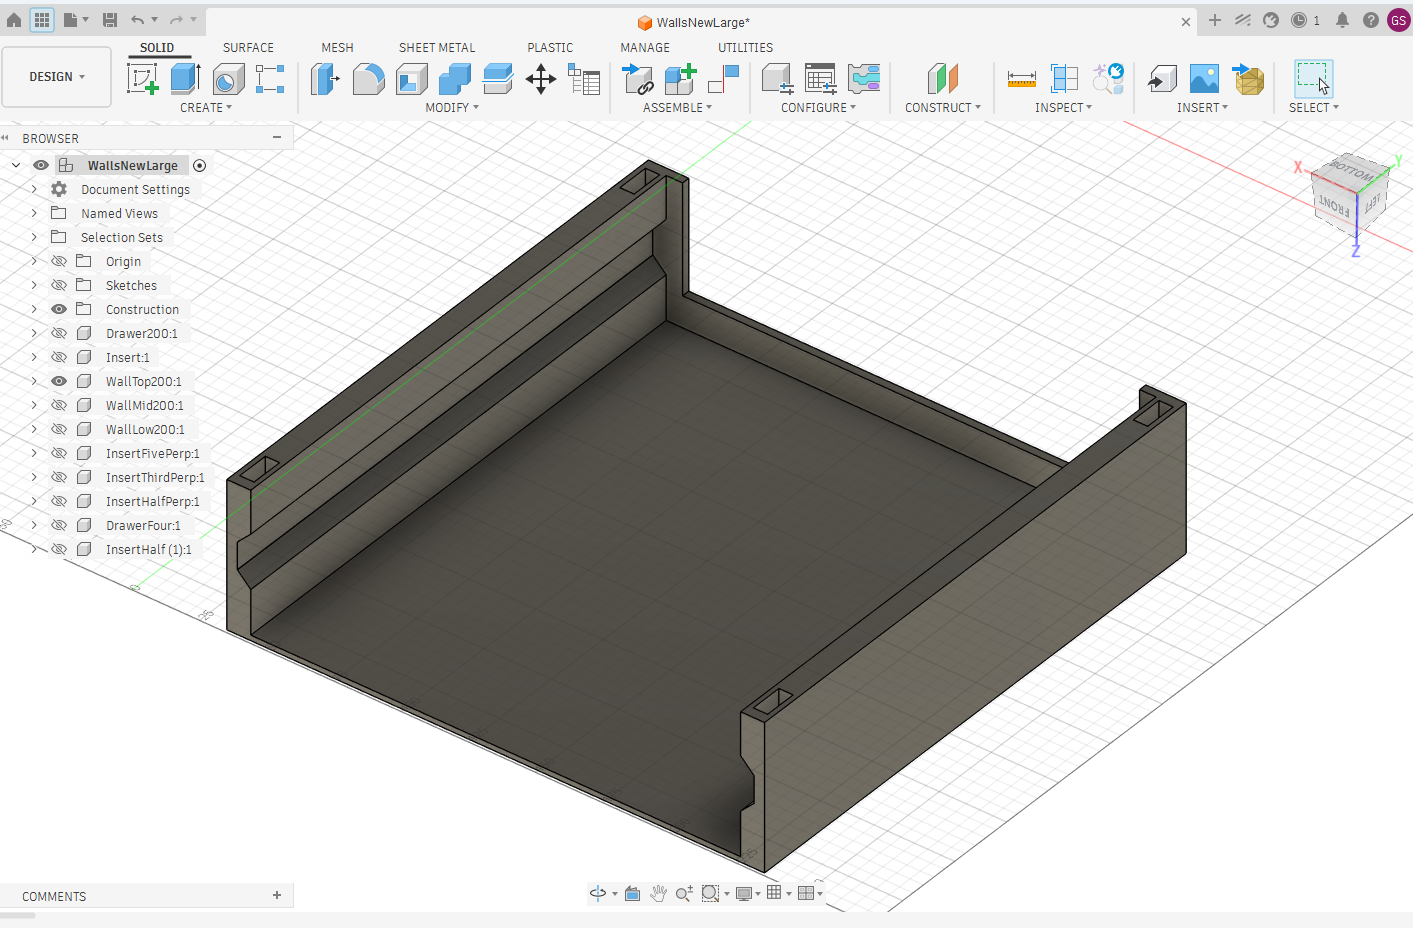
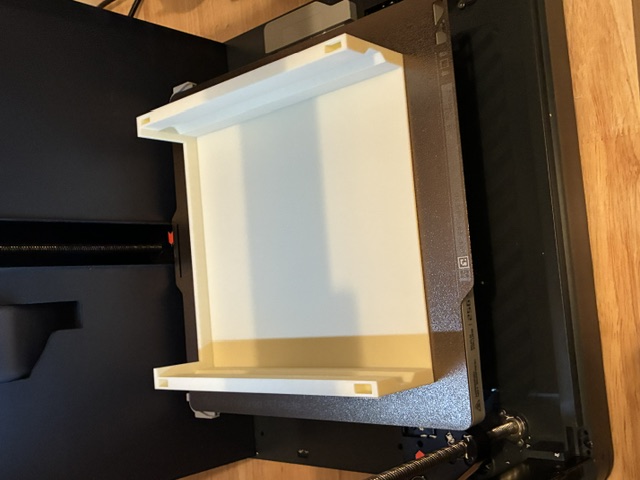
Model Print the drawers and divdied insert . Print each drawer with the half-round finger pull facing out (Drawer1). Test-fit against the housing rails; adjust clearance if it binds. Print the 3-compartment tray flat (TripelInsert2); it drops into any drawer.
Standard sttings for Bamabu Studio, approx 3.5 hours per piece
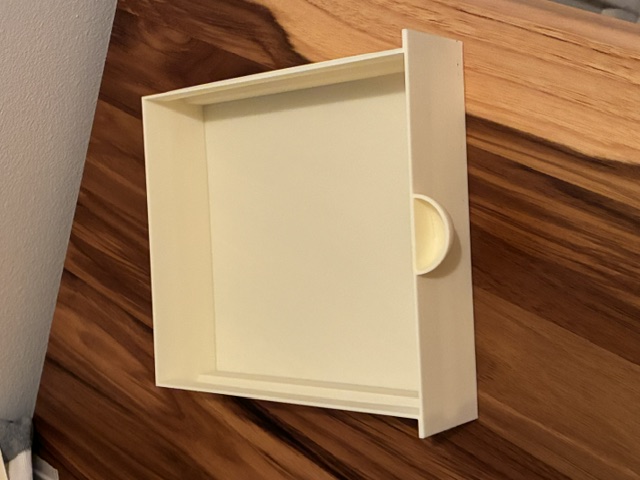
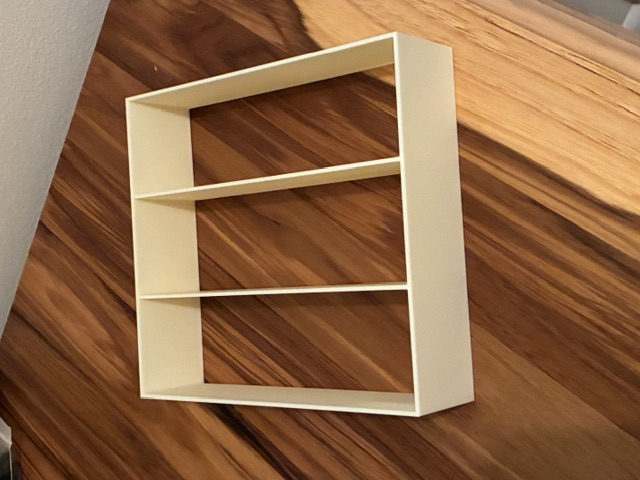
Stack and assemble. Seat each housing on the one below, slide drawers in, drop the insert into your parts drawer (Montage6). Add tiers anytime.